How to Customize a Roblox Fishing Game
A practical fishing-game customization workflow: map the catch loop, plan fish rarity and progression, configure your own assets, and test before publishing.
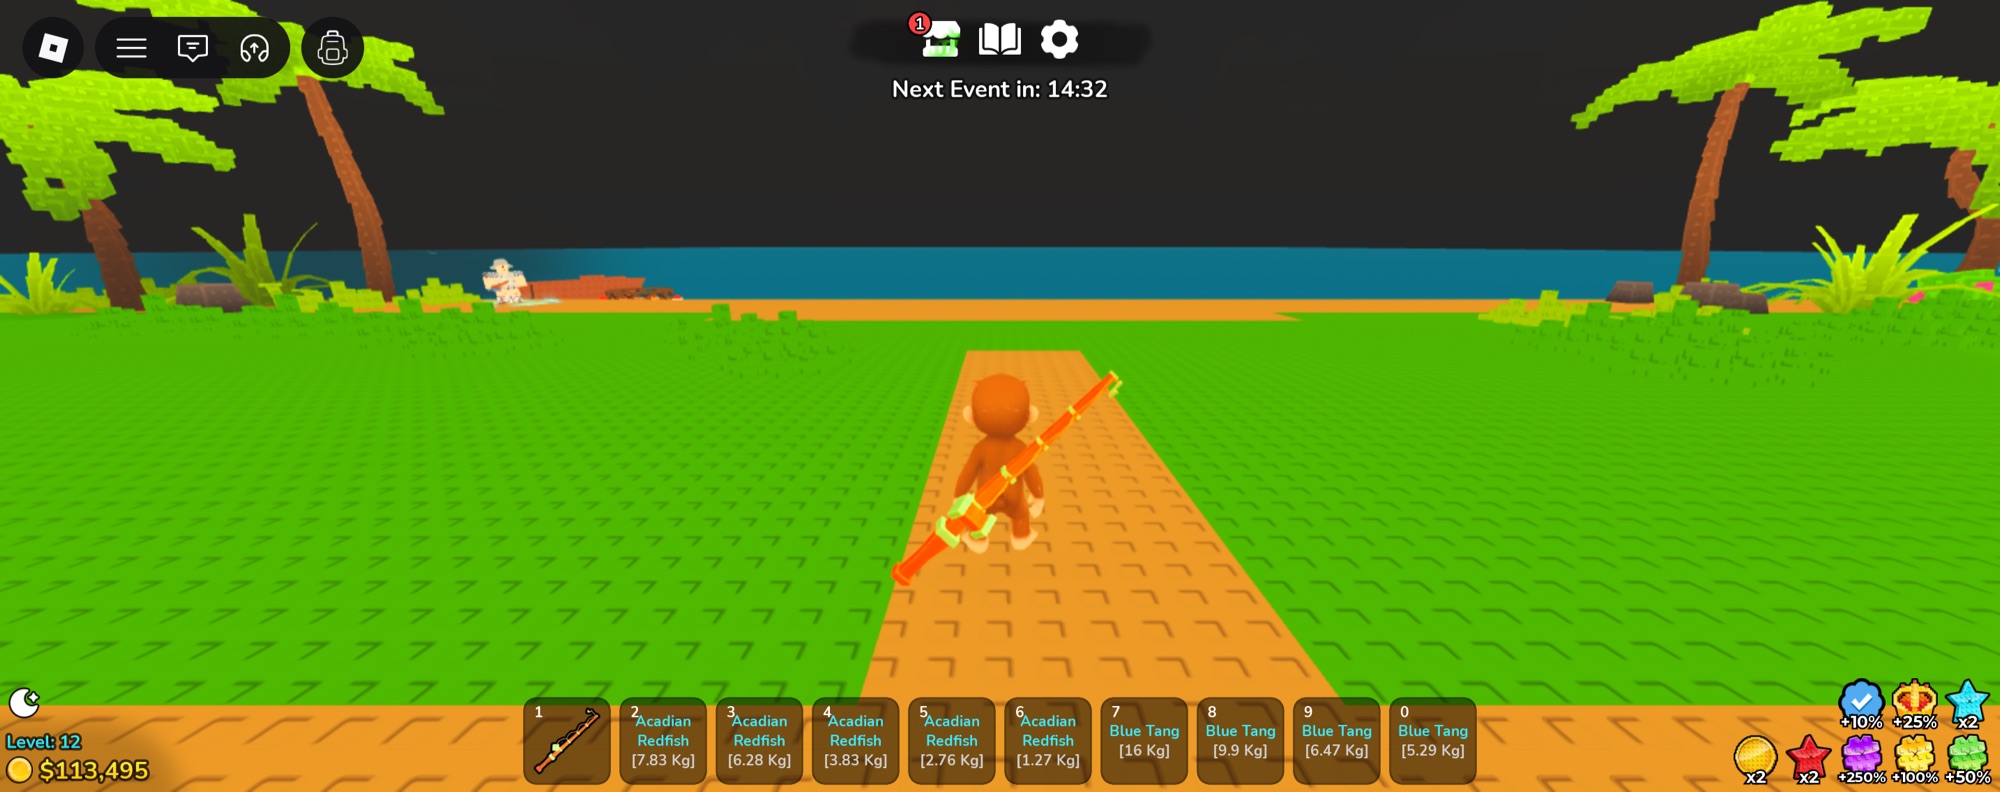
Map one complete catch before changing it
Start with an untouched backup and a working copy. In the unmodified project, follow one trip from equipping a rod to catching a fish and finding that fish in the collection. Write down which interface changes, which values increase, and which actions are available next.
In Fish Deep, the screenshots show a rod-based fishing scene, progression counters, a fish inventory, and a collection index. Use those visible labels as starting points when searching the project. Locate the code or configuration behind the displayed value before assuming that a similarly named script controls it. This guide describes a workflow; it does not assume particular module names or undocumented defaults.
Choose a theme that changes player decisions
A new logo is not the same as a new fishing game. Decide what makes exploration interesting: a coastal research station, a night-fishing challenge, or a collection built around different habitats. Then list the changes that support that idea, such as location names, fish descriptions, visual cues, and the order in which players encounter areas.
Change a small slice first. Retheme one location and its related interface text, then play through it. This exposes inconsistent names and unreadable labels before those mistakes spread across the whole project.
Balance the collection, not just the rarest fish
Create a small planning table outside Studio with a row for each fish you are changing: intended location, rarity, reward, and its role in progression. Decide what an ordinary catch should accomplish before making rare rewards dramatic. If common catches feel useless, a visually exciting collection can still produce a frustrating first session.
Keep a short before-and-after log when adjusting configuration. Change one variable at a time, repeat the same route, and record the results. Do not infer the rarity distribution from one lucky catch or claim exact probabilities until you have verified how the project's selection logic works.
- Find the source of the displayed rarity and reward values.
- Check whether boosts or location rules also change the outcome.
- Make one small adjustment in your working copy.
- Repeat the catch loop and confirm that inventory, collection, and progression agree.
Make assets and purchase settings belong to your release
A copied place can still refer to assets or purchase identifiers associated with another creator or experience. Build an inventory of the settings you must review rather than replacing every number found in a script. Start with shop items, pass and product IDs, audio, animations, and any destination-place settings.
The shop shown in Fish Deep includes luck and VIP interfaces. Treat those as systems to configure and verify, not evidence that your own purchases are already connected. A displayed price, a successful prompt, and the correct granted benefit are three different checks.
Finish with a repeatable fishing test
Test as a new player, then as a returning player. Catch an ordinary fish, inspect it, change equipment where supported, leave, and return. Check that the intended progress remains and that the interface still describes the right state. Repeat the essential actions on a smaller screen and with a second client if other players affect the loop.
Use an isolated test setup for data and purchases. Keep your original backup and a known-working version after each milestone. When a problem appears, a precise note such as 'collection updated, inventory did not' is much more useful than 'fishing is broken.'
The goal is a working version with your own theme and verified behavior. A source template does not include an existing audience or guarantee that the finished game will earn revenue.
Verify your changes against a working baseline
Fishing progression, collection data and the world around the catch loop. Start with the original download, then repeat these checks after each edit. Keep the test experience separate from live player data.
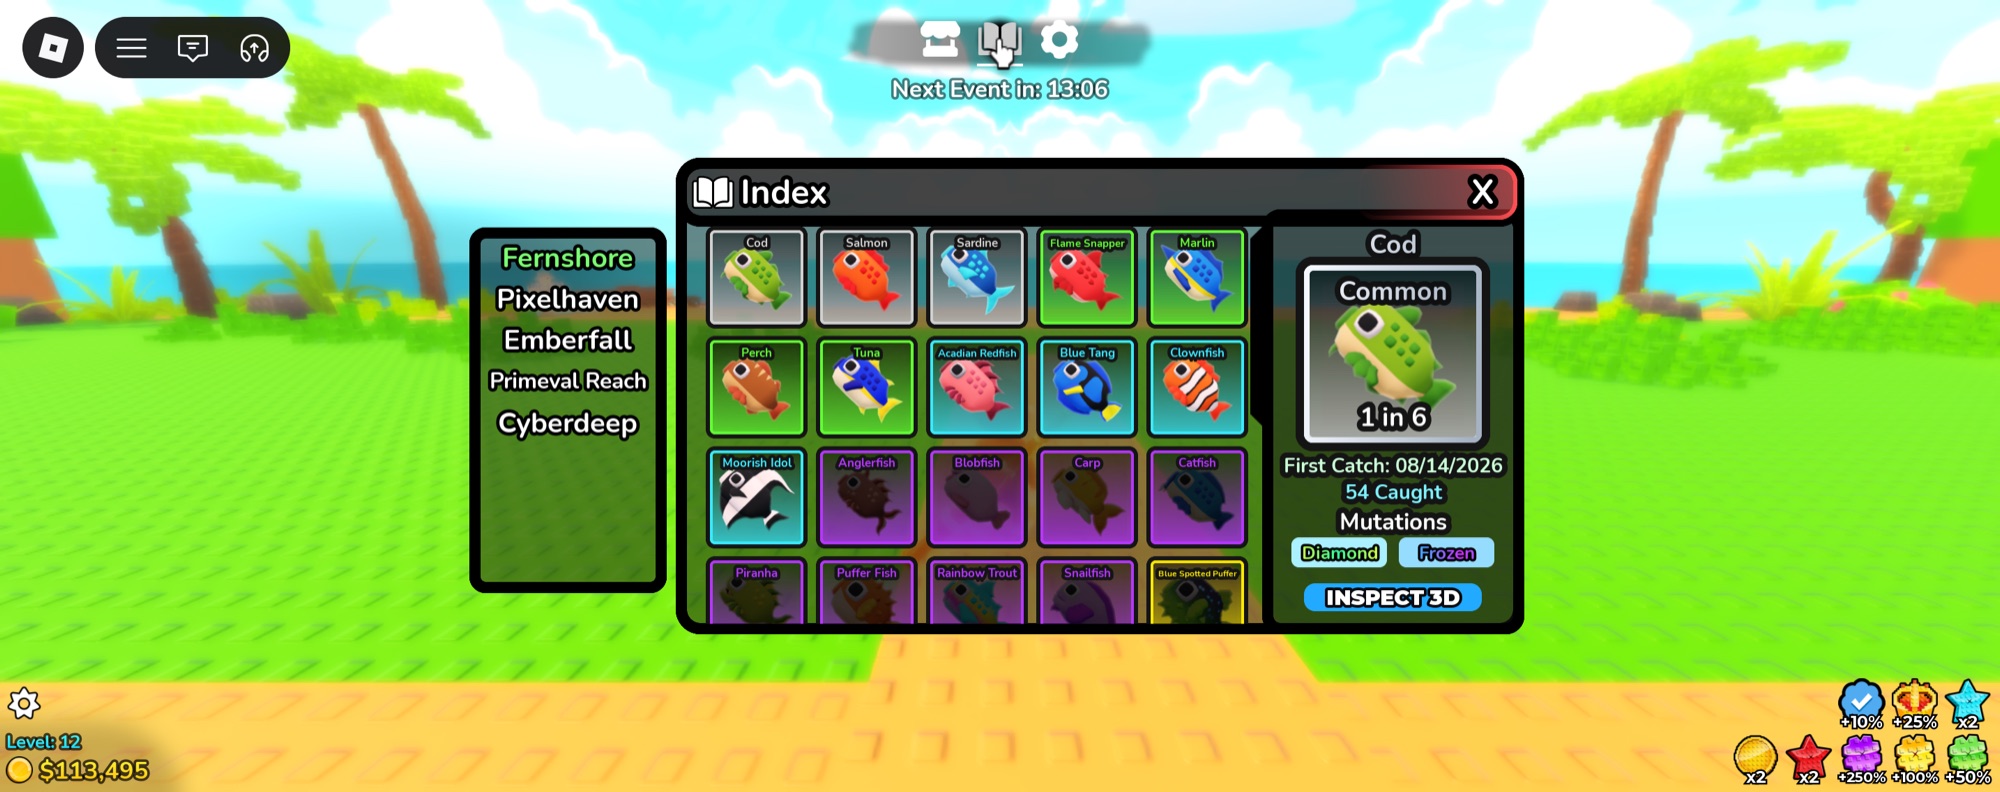
- Equip a rod, catch a fish and compare the inventory entry with the collection index.
- Change one fish reward in a working copy and verify the displayed and awarded values agree.
- Test the same fishing route in your published private experience, including audio and animations.
When a test fails
If an animation or sound is missing, record its asset ID and the Output error. Check access for the destination experience with the asset owner. A working owner account or original demo does not establish access for a different experience.
Write down the downloaded filename, what you changed, the expected result, the actual result, and whether the issue happens on the server or a client. Include those details when asking for setup support.
Keep a repeatable checklist
Use the free Roblox launch checklist to keep track of setup, gameplay, data, and release checks. If you are still choosing a foundation, compare the four source templates before buying.
See the screenshots, included source, price, and setup expectations.
Official references
This is an editorial workflow, not an automatic audit or a claim that your changes have been tested. Check Roblox's current documentation for platform behavior and requirements.